Zhuhai Zhengyuan Optoelectronic Technology Co., Ltd. +86-756-6831079 sales@luxfighter.com
FOLLOW US -
  • News

    How to Remove and Replace a Car Interior Reading Light: A Safe Step-by-Step Guide

    2026-11-06T14:11:33.0000000Z

    Before You Start: What Is a Car Interior Reading Light?

    A car interior reading light, also called a dome light, map light or interior courtesy light, illuminates the passenger compartment when a door opens or when the driver switches the lamp on manually. Some vehicles use one central roof lamp, while others have a front reading-light assembly with separate left and right lamps. A luggage-compartment or trunk lamp is a different application, even though some bulb bases may look similar.

    The replacement process is often straightforward, but there is no universal removal method. Some lamp covers are retained by spring clips, while others are secured by small screws or are integrated into a larger overhead console. The safest approach is to identify the vehicle and lamp assembly first, then work from the outer edge rather than forcing the centre of the lens.

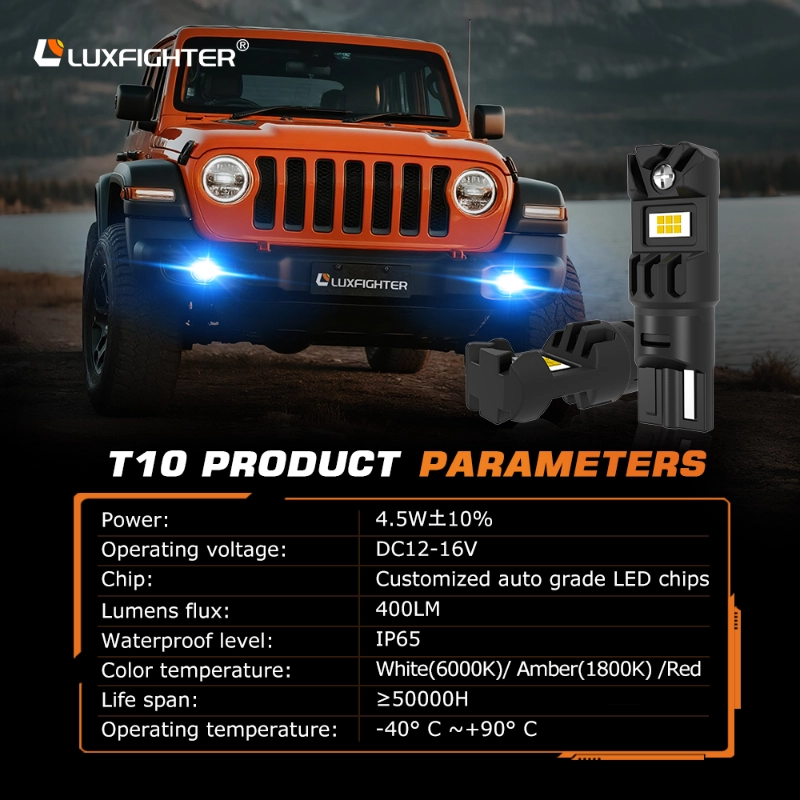
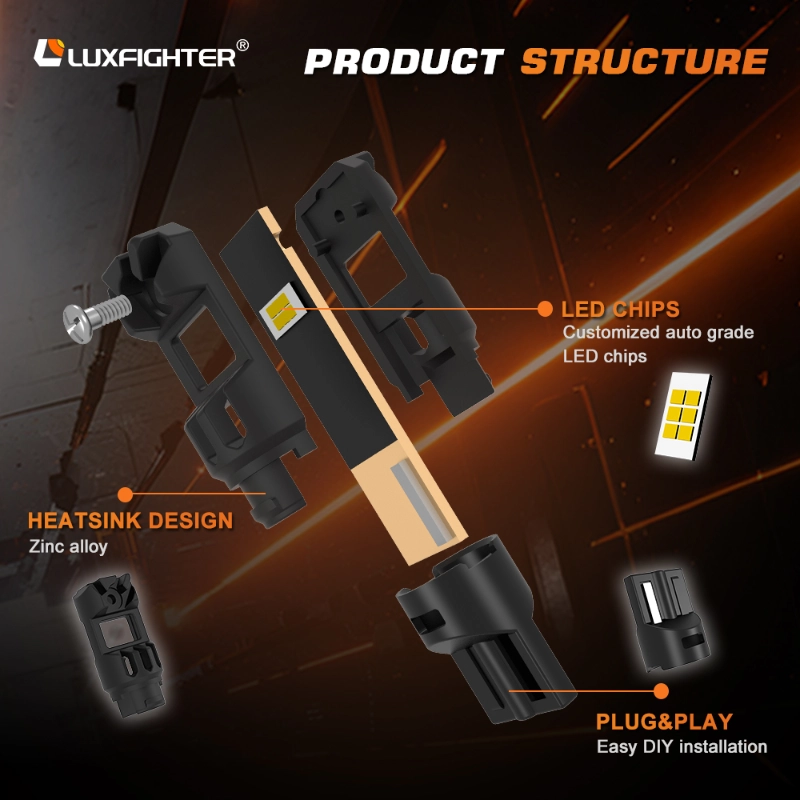
    T10 Manufacturer & Supplier - Zhengyuan Optoelectronic


    Tools and Safety Checks Before Removing the Light

    Prepare the tools before opening the lamp assembly:

    1. A plastic trim-removal tool or plastic pry tool.

    2. A small flat-head screwdriver where the assembly uses a screw or a release slot.

    3. A suitable replacement bulb, matched to the original base, size, voltage and polarity requirements.

    4. A clean cloth or protective tape for the surrounding trim.

    5. A small container for screws and clips.

    Then complete the safety checks:

    • Park the vehicle on a stable surface and switch the ignition off.

    • Turn the interior light to the OFF position if the vehicle provides a manual switch.

    • Remove the key or switch off the vehicle's electrical accessories.

    • Wait for the bulb and surrounding parts to cool before touching them.

    • If the lamp is part of a complex overhead console, or if the vehicle manual requires battery disconnection, follow the manufacturer's instructions before proceeding.

    Do not use a metal tool aggressively against a visible trim surface. A screwdriver can mark the headliner, crack a transparent lens or break a plastic retaining clip. A plastic pry tool is the better first choice.

    Step 1: Identify the Lens, Clips and Screws

    Inspect the reading-light assembly from the passenger compartment. Look for a small release notch on the outer edge of the lens, visible screw heads, or a seam between the lens and the main housing.

    The position of a release point varies by vehicle. It may be on a long edge, a short edge or one of the corners. Do not assume that the centre of the lens is the correct place to pry: the centre can contain a screw, switch mechanism or a fragile internal support.If the cover does not move with light pressure, stop and check for a hidden screw or a second retaining clip. Forcing the lens is more likely to turn a routine bulb replacement into a trim repair.

    Step 2: Remove the Light Cover Carefully

    Insert the plastic pry tool into the intended gap and twist it gently just enough to release the first clip. Move along the perimeter and release the remaining clips one at a time. Keep the tool shallow so that it does not contact the bulb, circuit board or wiring behind the lens.

    For assemblies held by screws, loosen the fasteners with the correct screwdriver and keep them in a safe place. Some front reading-light units contain several lamps arranged across a U-shaped or elongated housing; the visible lens may need to be removed before the bulb holders become accessible.

    If the cover is tight, do not pull down sharply. Support the panel with your free hand and check whether a wire connector, switch or retaining tether is still attached.

    China Tail/Brake/Reversing Lights Factory - Zhengyuan Optoelectronic


    Step 3: Remove the Old Bulb and Confirm the Replacement Type

    Once the cover is removed, identify how the original bulb is held. Depending on the vehicle, the bulb may be a wedge-base bulb, a festoon-style bulb or another application-specific format. Pull or release it according to the holder design; do not twist a bulb that is designed to slide out, and do not pull a bulb that is locked by a spring contact until the contact has been released.

    Compare the replacement with the original before installation. Check:

    • Bulb base and physical dimensions.

    • Rated voltage and power.

    • Overall length, especially for festoon-style bulbs.

    • Available clearance inside the lamp housing.

    • Light colour and intended use.

    • Polarity requirements if the replacement is an LED.

    The label "interior light" does not by itself confirm fitment. A trunk lamp, license-plate lamp and dome light can use similar-looking products but may require different dimensions, brightness or mounting styles.

    Step 4: Install the LED Reading Light

    Insert the new bulb into the original holder without forcing it. For a wedge-base bulb, press it evenly into the socket. For a festoon-style bulb, seat both ends securely against the contacts. If an LED does not illuminate during the first test, switch the lamp off, remove the bulb and rotate it 180 degrees if its polarity is directional.

    Make sure the bulb is fully seated and does not touch the lens in a way that prevents the cover from closing. Do not bend contacts repeatedly; excessive adjustment can loosen the holder or create an intermittent connection.

    LED interior reading lights are commonly selected for their lower power consumption, long service life and brighter, cleaner illumination. However, brightness should be appropriate for the lamp housing and passenger compartment. An overly intense light can create glare at night, while a bulb that is too long can prevent the lens from locking into place.

    Step 5: Test the Light Before Reinstalling the Cover

    Turn the lamp on and confirm that it illuminates consistently. Then test the relevant door or courtesy-light function if the vehicle links the lamp to door opening. Check for flicker, an uneven connection, abnormal heat or a warning message on vehicles that monitor interior-light circuits.

    Testing before reinstalling the cover avoids removing the lens again if the bulb is reversed, incorrectly seated or incompatible. If the lamp does not work:

    1. Confirm that the interior-light switch is not set to OFF.

    2. Check that the bulb is seated correctly.

    3. Reverse the LED bulb if it is polarity-sensitive.

    4. Inspect the holder for corrosion or a loose contact.

    5. Check the relevant fuse only if the vehicle's manual identifies it as part of the circuit.

    Do not replace a fuse with one of a higher rating. If the fuse fails again, stop the installation and have the circuit inspected.

    Fog Lights by Series - China Factory - Zhengyuan Optoelectronic


    Luxfighter


    Step 6: Reinstall the Lens and Check the Finish

    After confirming that the light works, align the cover with the housing. Press around the perimeter until each clip engages, or reinstall the screws without overtightening them. The cover should sit flush with the surrounding trim and should not rattle when lightly touched.

    Check that no wire is trapped between the lens and the housing. Collect all tools, clips and protective materials before closing the vehicle. A final visual inspection is worthwhile because a misaligned cover can create noise and may allow dust to enter the lamp assembly.

    LED Interior Reading Light vs. Traditional Bulb: What Should You Choose?

    An LED upgrade is not automatically the best choice for every vehicle or user. The correct product depends on the vehicle's socket, the available space, the desired colour and the electrical design of the lamp circuit.

    Buying factor Traditional incandescent bulb LED interior reading light
    Power consumption Higher for comparable everyday illumination Generally lower, reducing load on the circuit
    Service life Shorter and affected by filament wear Longer because there is no filament
    Response Immediate, with heat generated during operation Immediate, with efficient solid-state light output
    Heat management Can become hot after extended use Usually produces less heat, but housing compatibility still matters
    Colour options Often limited to the original warm tone White, warm white and other options may be available
    Replacement considerations Usually simple if the base matches Check polarity, dimensions, brightness and fitment

    For a family car, a warm-white LED can preserve a comfortable cabin atmosphere. For a van or commercial vehicle, a brighter neutral-white option may improve visibility when reading labels or finding items. The right choice is the one that fits correctly and provides useful illumination without glare.

    China Car Light, Car LED Light Manufacturer & Supplier - Zhengyuan Optoelectronic


    Automotive Grille LED Spotlight


    Common Mistakes When Replacing a Car Reading Light

    Prying from the wrong location. Starting at the centre of a lens can damage a screw point, switch or internal support. Begin at the manufacturer's release notch or the outer seam.

    Working while the lamp is hot or powered. A recently used bulb can burn skin, and an active circuit can cause a short if a metal tool bridges the contacts. Switch the lamp off and let it cool first.

    Ordering by appearance alone. Two bulbs can look similar while differing in base, length, voltage or polarity. Compare the original bulb and the vehicle manual before purchase.

    Forcing an LED into a tight housing. A longer or wider bulb can prevent the lens from closing and may create heat or pressure inside the assembly. Confirm dimensions before installation.

    Replacing a fuse with a larger one. This can create a serious electrical risk. Use only the fuse rating specified by the vehicle manufacturer, and seek diagnosis if the circuit continues to fail.

    Frequently Asked Questions

    How do I know which interior light bulb fits my car?

    Check the vehicle manual, the original bulb marking and the physical base and dimensions. If the vehicle has more than one interior lamp, confirm each position separately because the dome, map, vanity and trunk lights may use different formats.

    Can I change a car reading light to LED?

    In many vehicles, a direct-replacement LED bulb can be installed if its base, dimensions, voltage and polarity match the original. Test the bulb before closing the lens and verify that it does not trigger a circuit warning.

    Why does my new LED interior light not turn on?

    The most common causes are reversed polarity, an incomplete connection, an OFF switch setting or an incompatible base. Turn the lamp off, reseat the bulb and reverse it if the design is polarity-sensitive.

    Should I disconnect the car battery before changing an interior bulb?

    Not every vehicle requires battery disconnection. Follow the vehicle manual, especially when the lamp is part of an overhead console or a circuit that includes airbags, microphones or other electronics. At minimum, switch the lamp and ignition off and prevent accidental contact between metal tools and the terminals.

    Is a brighter reading light always better?

    No. Excessive brightness can create glare and make night driving less comfortable. Select an output that suits the lamp housing, the cabin and the intended use rather than choosing the highest number alone.

    When should I ask a professional to replace the light?

    Seek professional help if the lens will not release, wiring or a connector is damaged, a fuse repeatedly fails, the assembly includes complex electronics, or you are unsure whether the lamp is connected to another safety system.

    Conclusion: A Small Upgrade That Rewards Careful Installation

    Removing and replacing a car interior reading light is usually manageable when the vehicle is powered down, the correct tool is used and the lens is released from the proper edge. Match the bulb before installation, test the LED before closing the housing and never force a cover or electrical contact.

    For vehicle owners, the upgrade can provide cleaner illumination and longer service life. For distributors and fleet buyers, the priority is consistent fitment, clear specifications and a supplier able to support samples, packaging and OEM/ODM requirements.

    Our History - Zhuhai Zhengyuan Optoelectronic Technology Co., Ltd.


    Related News
    We use cookies to offer you a better browsing experience, analyze site traffic and personalize content. By using this site, you agree to our use of cookies. Privacy Policy
    Reject Accept